Sep 11, 2023
Canning is our Jam!
Yes You Can!
Ever wish you could reach into your pantry and enjoy your homegrown fruits and vegetables in any season? Canning is a simple and effective way to store and preserve food in bulk, avoid food waste, and save money. In addition, homemade preserves make for a beautiful heartfelt gift your loved ones will surely enjoy.
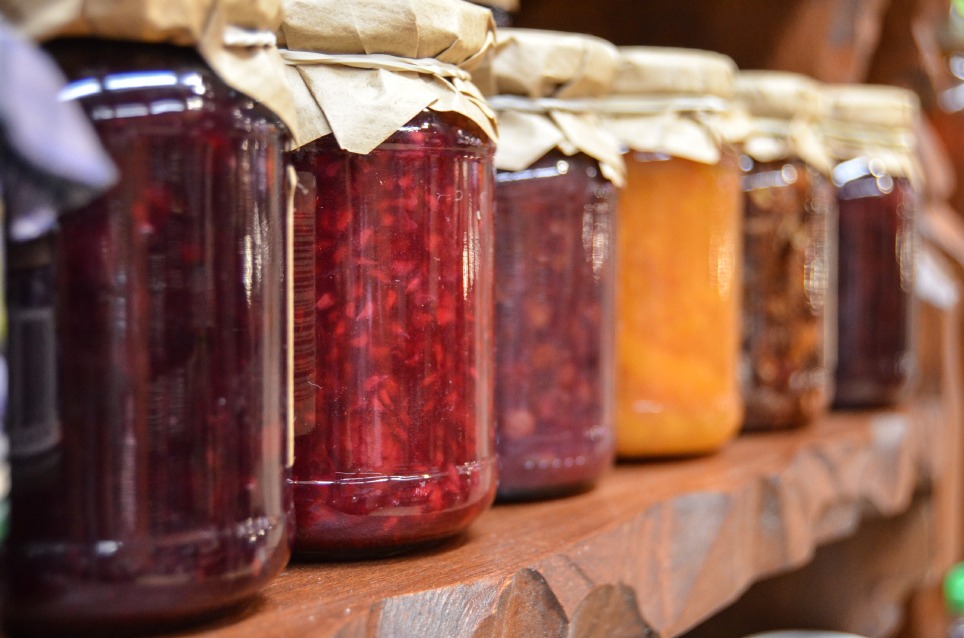
Canning allows you to preserve food at room temperature by boiling the food and container, then sealing the jar so no new microorganisms can
enter.
The key to safe canning is cooking the food and jar
according to the ingredients' PH (or acidity), adding citric acid to
raise the PH, and/or pressure canning foods with a low PH. Follow a recipe from a trustworthy and current source and avoid making any tweaks or changes that could affect the PH level of the preserves. It is always best to err on the side of caution. Botulism poisoning caused by botulinum bacteria in improperly sealed cans is uncommon but can lead to paralysis and/or death if not treated quickly. Jars can be reused for canning, but never the lids!
Learn a bit about the canning process below, and check out our books on preserving everything from fruit to fish and game!
Canning With Water Bath
Water Bath Canning
Acidic foods such as fruits, jams, sauerkraut, and pickles
can be canned using the water bath method without added help from a pressure canner since bacteria do not thrive in a high PH environment.
You Will Need:
- The food ingredients you will be preserving
- Citric acid, according to your recipe
- Canning jars and two-part lids with bands
- A pot at least 1” taller than your jars
- Canning rack to raise jars off the bottom of the pot
- Canning tongs to lift jars out of boiling water
- Optional funnel to prevent spills
Step 1
Prepare your ingredients according to your recipe
Step 2
If directed to on your jar manufacturer’s instructions, sterilize your jars and lids by boiling them fully submerged for 10 minutes if you are at sea level and an extra minute for every 1000” above sea level.
Step 3
Quickly fill your jars with ingredients, leaving about an inch between the food and the jar rim. Wipe any traces of food from the rims to ensure a proper seal.
Step 4
Screw on the lid securely, but not so tight that air will be unable to escape during the canning process
Step 5
Lower the jars onto the rack in the water bath, bring the water to a full boil, and place the lid on the pot. Process the cans according to the time specified in the recipe.
Step 6
Let the jars cool undisturbed on a rack for about 12 hours. After this, test the seal by pressing down on the lid. If the lid is sealed properly, it won’t wiggle. Store the jars in a calm, dark place for up to one year.
Canning Under Pressure
Pressure Canning
For low-acid foods and meat, use the pressure canning method. This process involves vacuum sealing the jars in a pressure cooker to sterilize the food.
You Will Need:
- The food ingredients you will be preserving
- Citric acid, according to your recipe
- Canning jars and two-part lids with bands
- A pressure canner
- A timer
- Canning tongs to lift jars out of boiling water
- Optional funnel to prevent spills
Step 1
Place the sanitized jars with your finished recipe in the canner, add water, then close the canner with the lid.
Step 2
Turn the stove on high and watch the pressure if your canner has a pressure gauge. The pressure should not get any higher than halfway.
Step 3
Turn the heat down to medium once the pressure gets halfway, and turn the heat up once again if the gauge drops down too far. According to your recipe, begin timing the recipe once the pressure hits halfway.
Step 4
Turn the stove off and wait for the pressure to drop before carefully removing the lid and removing the jars from the canner.