Nov 10, 2023
Keep Your Bees Cozy this Winter
Winterizing Bee Hives
Winter Hive Configuration
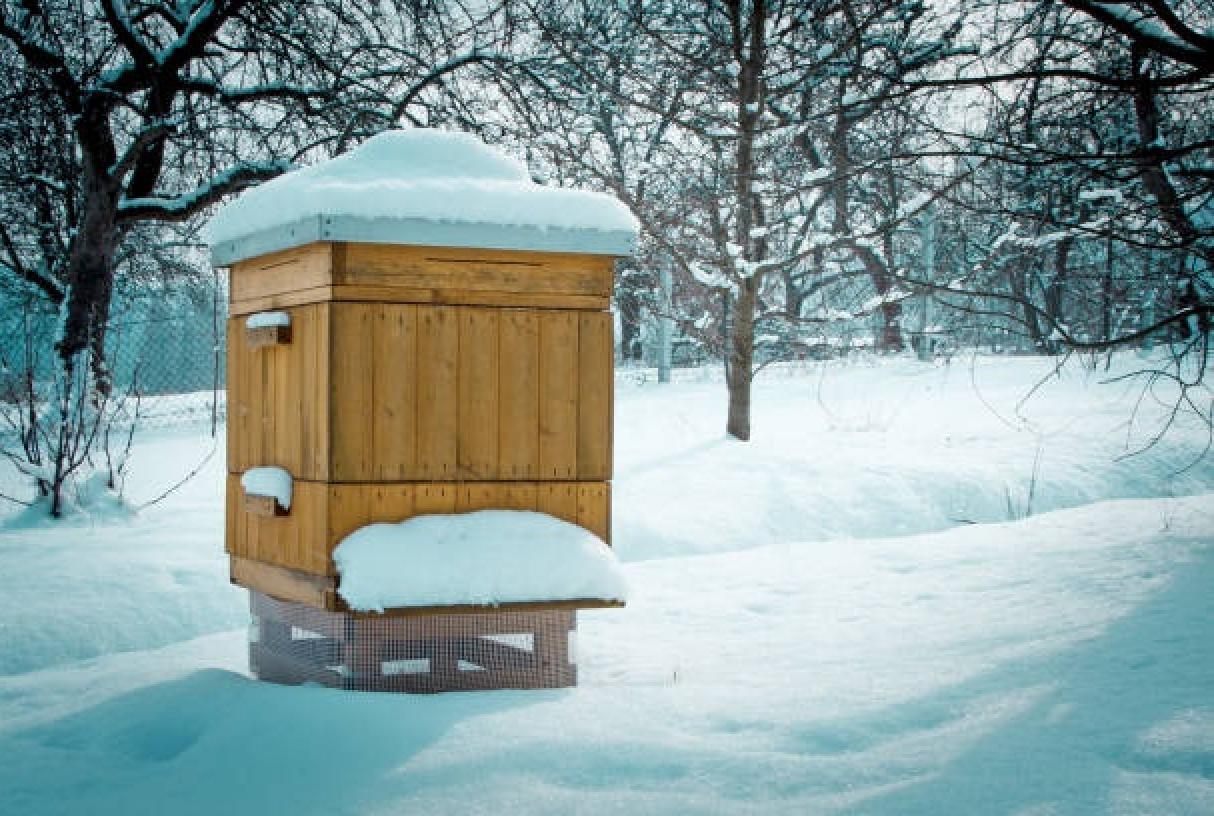
As daily temperatures fall to 57°F and below, bees will cluster together to conserve heat. The goal is to sustain life and keep the queen and any brood warm. Winterizing your bees in the smallest space possible will prevent heat dispersion, keeping the bees from expending unnecessary energy warming their cluster. This will also limit the space available to mice and other small critters looking for a warm place to crash.
Remove your queen excluders. If excluders are left in the hive, you risk the queen being left behind as the cluster moves up in the honey stores. This will kill your queen (and your colony)
If you have two too small or weak colonies, consider combining them. Winterizing one hive is better than losing both! You can also connect a weaker colony with a strong one. Ensure the more substantial colony has enough food stores to support the merge.
Moisture Control & Your Hive
Moisture Control
Condensation is a bee killer. This is a bigger problem in some regions than others. If you live in an area with moist winters, take extra steps to prevent moisture build and adequately insulate your hives.
Condensation forms when excess moisture from the warm cluster rises and condenses into water droplets on the inner cover. Cold water rains back down on the cluster when temperatures are above freezing.
Add a box between the inner and outer covers (honey supers work fine). Add insulating material like burlap, hay, or wood shavings to the box, often called a “hive quilt,” which can help retain heat and absorb moisture.
Cold, wet bees are dead bees.
Ensuring Your Hive Is Secure
Securing Your Hives
It’s always a good idea to tie down your hives with rope or ratchet straps or to place heavy bricks on top. Bee hives are unlikely to survive getting knocked over in the middle of winter, so taking steps to secure them is vital.
If you are in a particularly windy location, a wind buffer will go a long way for temperature regulation and preventing the hives from being knocked over. Stacked hay bales make an excellent temporary wall.
Beekeepers in harsh climates may move their hives into a shed or garage for the winter. If you go this route, make sure to move them after foraging is done for the season so that foragers don’t get stuck at their original location.
Placing the hives in three-sided structures can provide extra shelter without moving them back and forth.
How to Insulate Your Hive
Insulate Your Hives
There are countless different materials you can use to insulate your hive. You can be creative with this process and find the perfect solution for your climate and situation. The top and bottom of the beehive can be insulated, as well as the sides. Popular methods used by beekeepers include using insulation wraps or insulated covers on their beehives.
Ensure the hive's entrance is opened all winter to allow the bees to come and go. During the winter, the bees may need to leave the pack on warmer days to gather water or to go on a cleansing flight. After heavy snowfalls, check your hive entrance to ensure it is not blocked.
Hive Inspections
Limit Hive Inspections
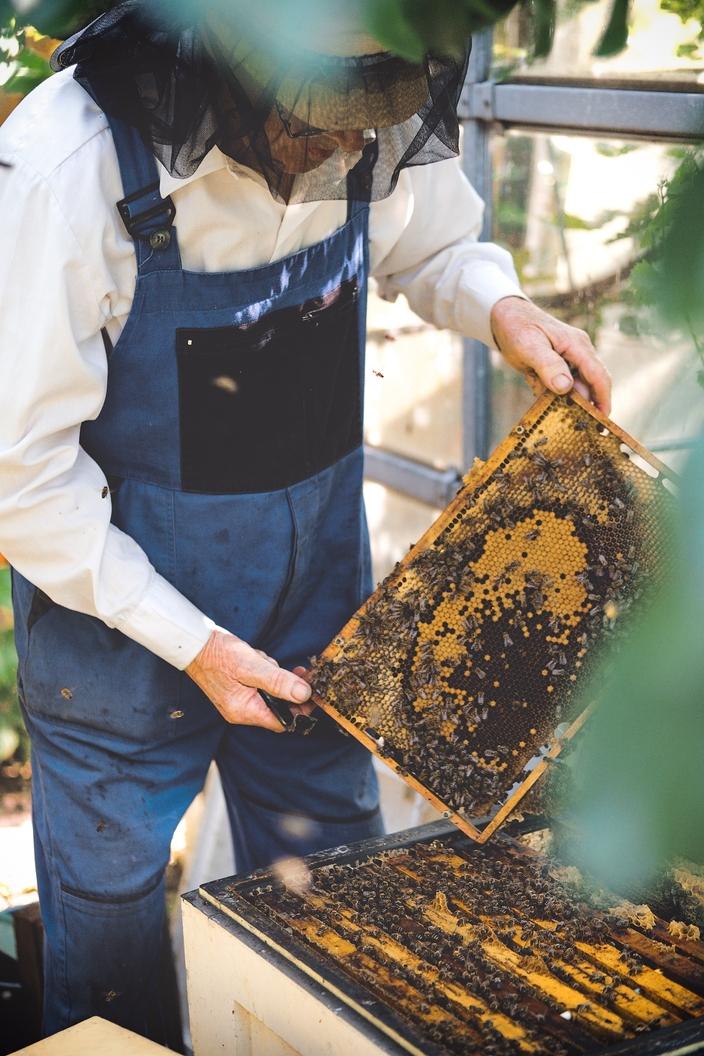
If the weather has been particularly harsh, taking advantage of a moderate day to peek inside your hives is okay. Check for activity and see if your bees need more food to hold them through the winter. Traditional candy boards, fondant, plain sugar, or sugar bricks can be used. These do not replace proper feeding that should occur earlier but can serve as insurance to avoid starvation.
Check for activity and see if your bees need more food to hold them through the winter.
